Deploying a Smart Contract to the Sepolia Testnet
Last Updated on 21. November 2024 by Mario Oettler
Before we continue learning more details about Solidity, we quickly want to have a look at how to deploy our smart contract to the public Sepolia testnet.
In future topics, we will use the local VM provided by Remix IDE. This topic is additional to show you how to use a public test network like Sepolia.
It can be difficult to obtain test Ether. Some faucets require personal information before providing them.
You have to weigh up for yourself whether it is worth disclosing your data.
It is also possible to work without a public test network for the following topics.
First, you need to install the browser plugin MetaMask, switch to the Sepolia testnet and get some test-Ether from a public faucet:
- https://sepolia-faucet.pk910.de/
- https://www.alchemy.com/faucets/ethereum-sepolia
- https://cloud.google.com/application/web3/faucet/ethereum/sepolia
- https://www.infura.io/faucet/sepolia
After you have installed MetaMask successfully, go back to the remix IDE and open the tab “Deploy and run transactions”. There, select Injected Web3 as environment and click on deploy.

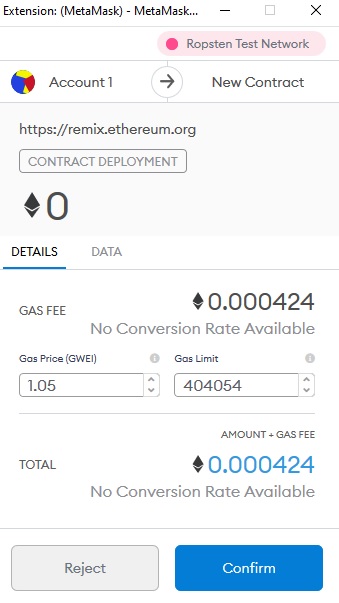
MetaMask will open and inform you about the transaction. Click on Confirm and wait until the transaction has been included in a block. This might take a while. In the meantime, you will see a pending message in the console of the Remix IDE. Once the transaction was successful, you see the confirmation in the console too.
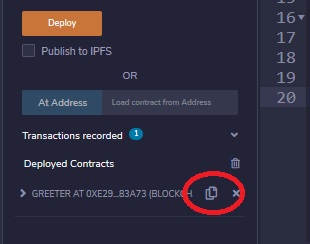
When clicking on the “copy” button next to the user interface, you can copy the address of your deployed contract. This is useful if you want to share the address of your contract with others.


 Register
 Sign in